Home
Plucky Installation
This tutorial will show you how to install Plucky on macOS.
Download Plucky
Go to getplucky.net.

Click on “Installer” to download.
Install Plcuky
Double click “Plucky.pkg” in your Downloads folder to open the installer.
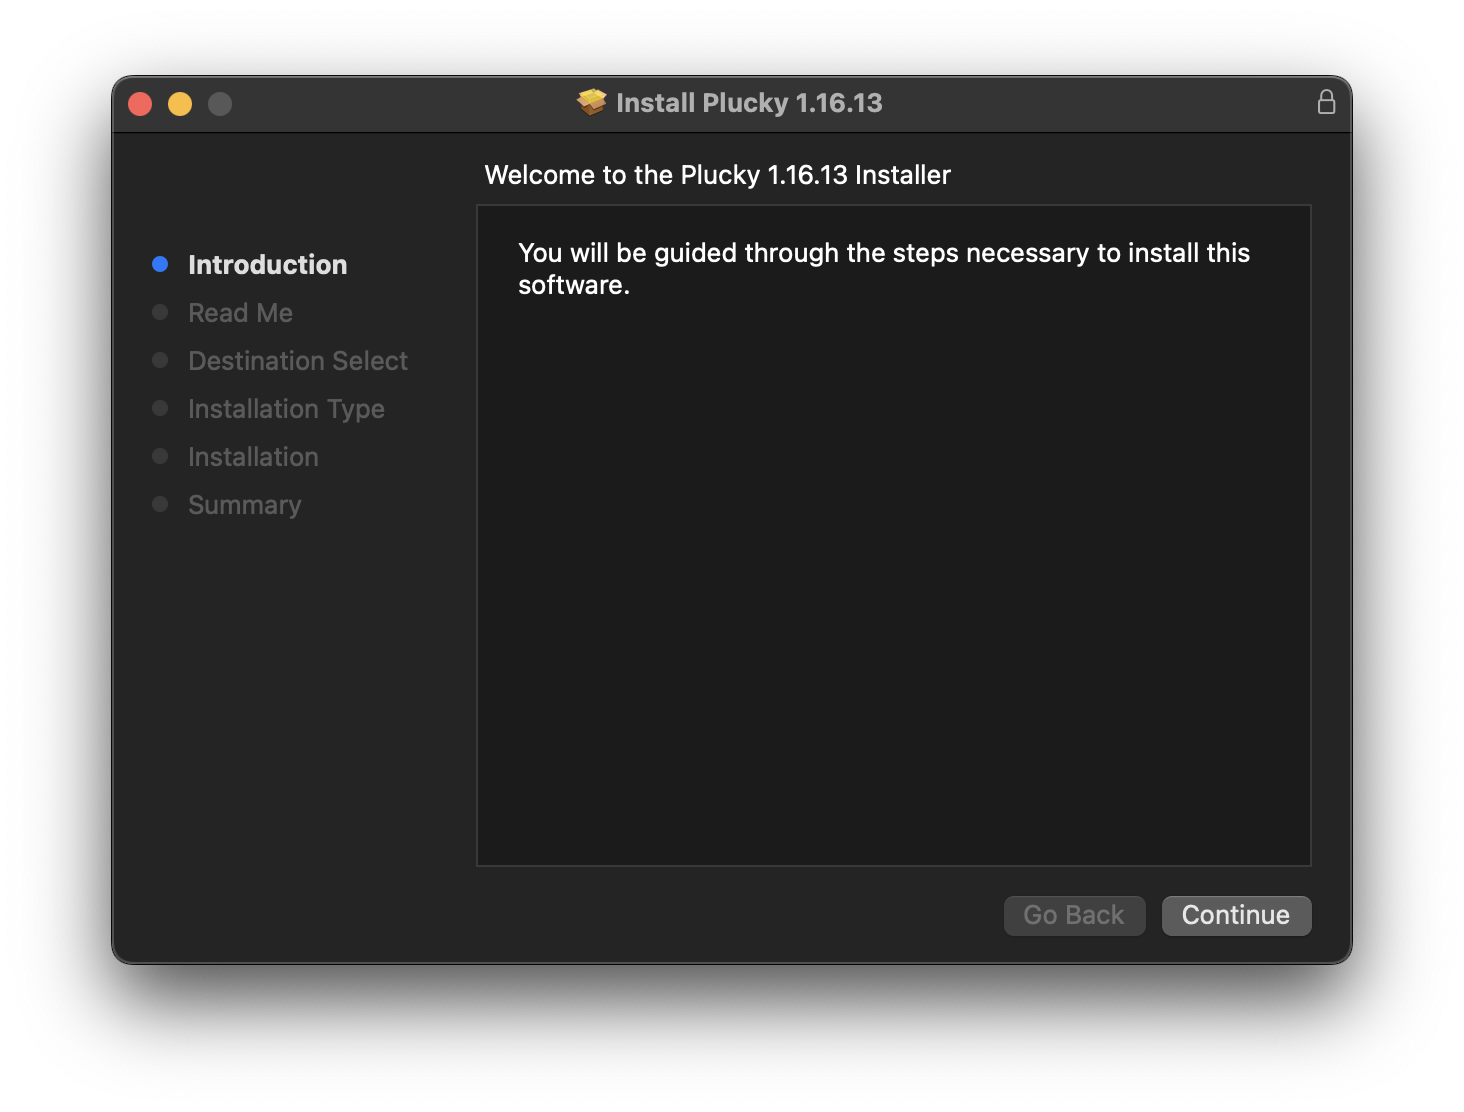
Click Continue
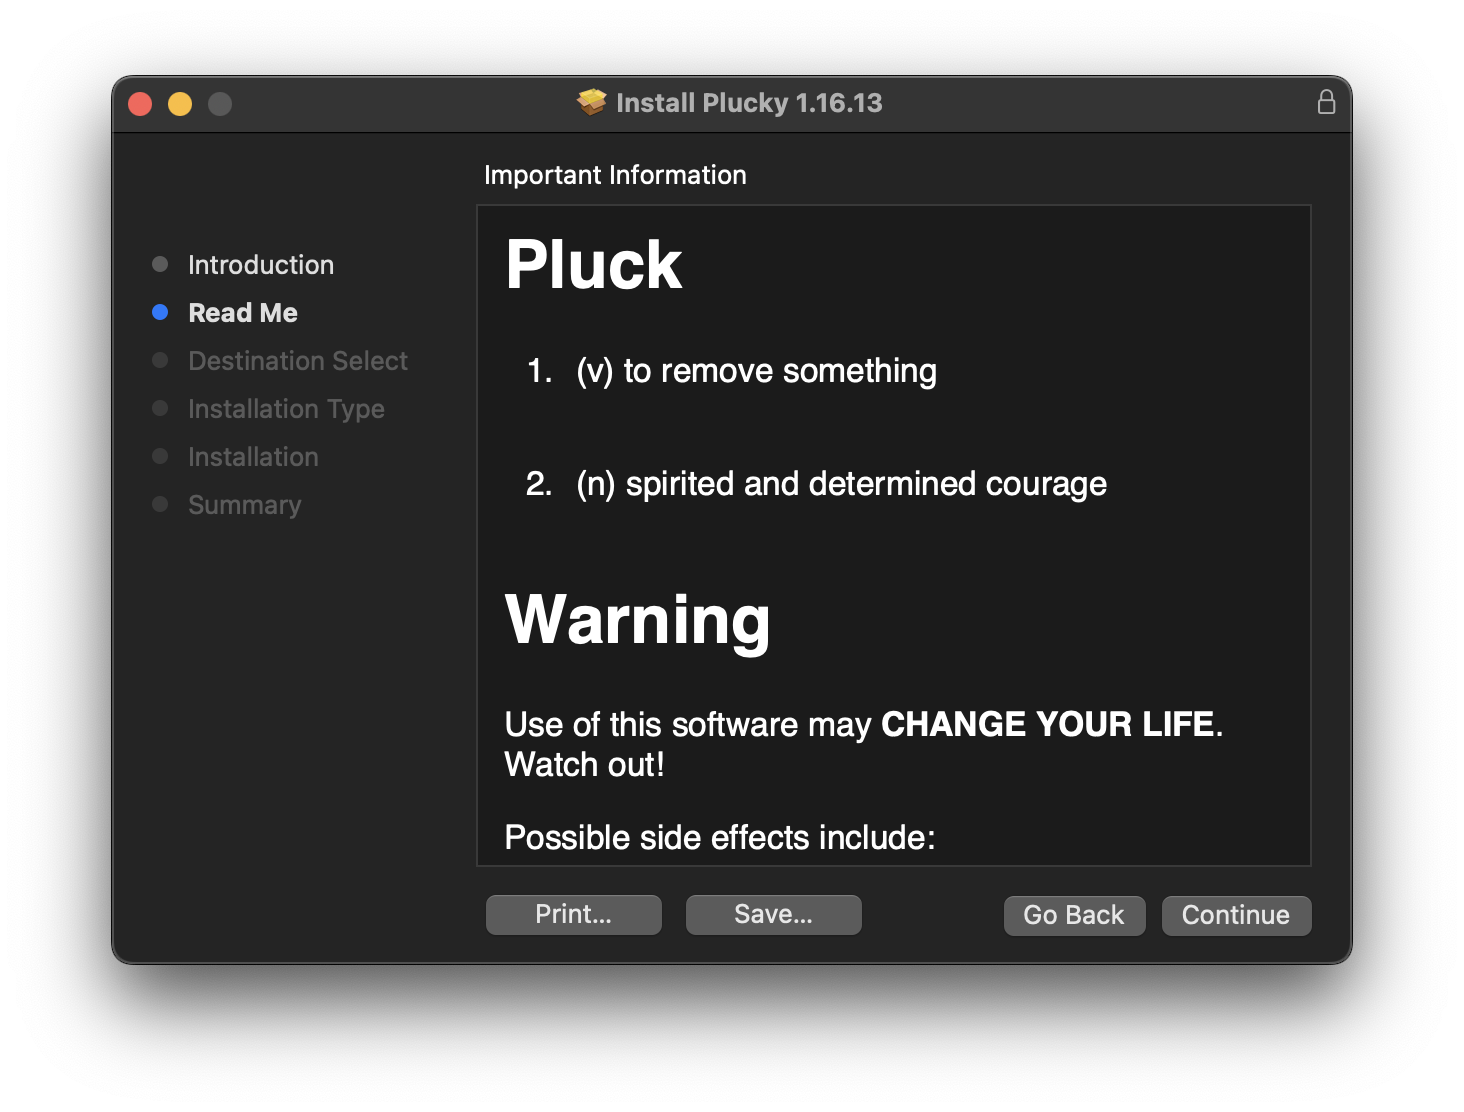
Read the Read Me and click Continue
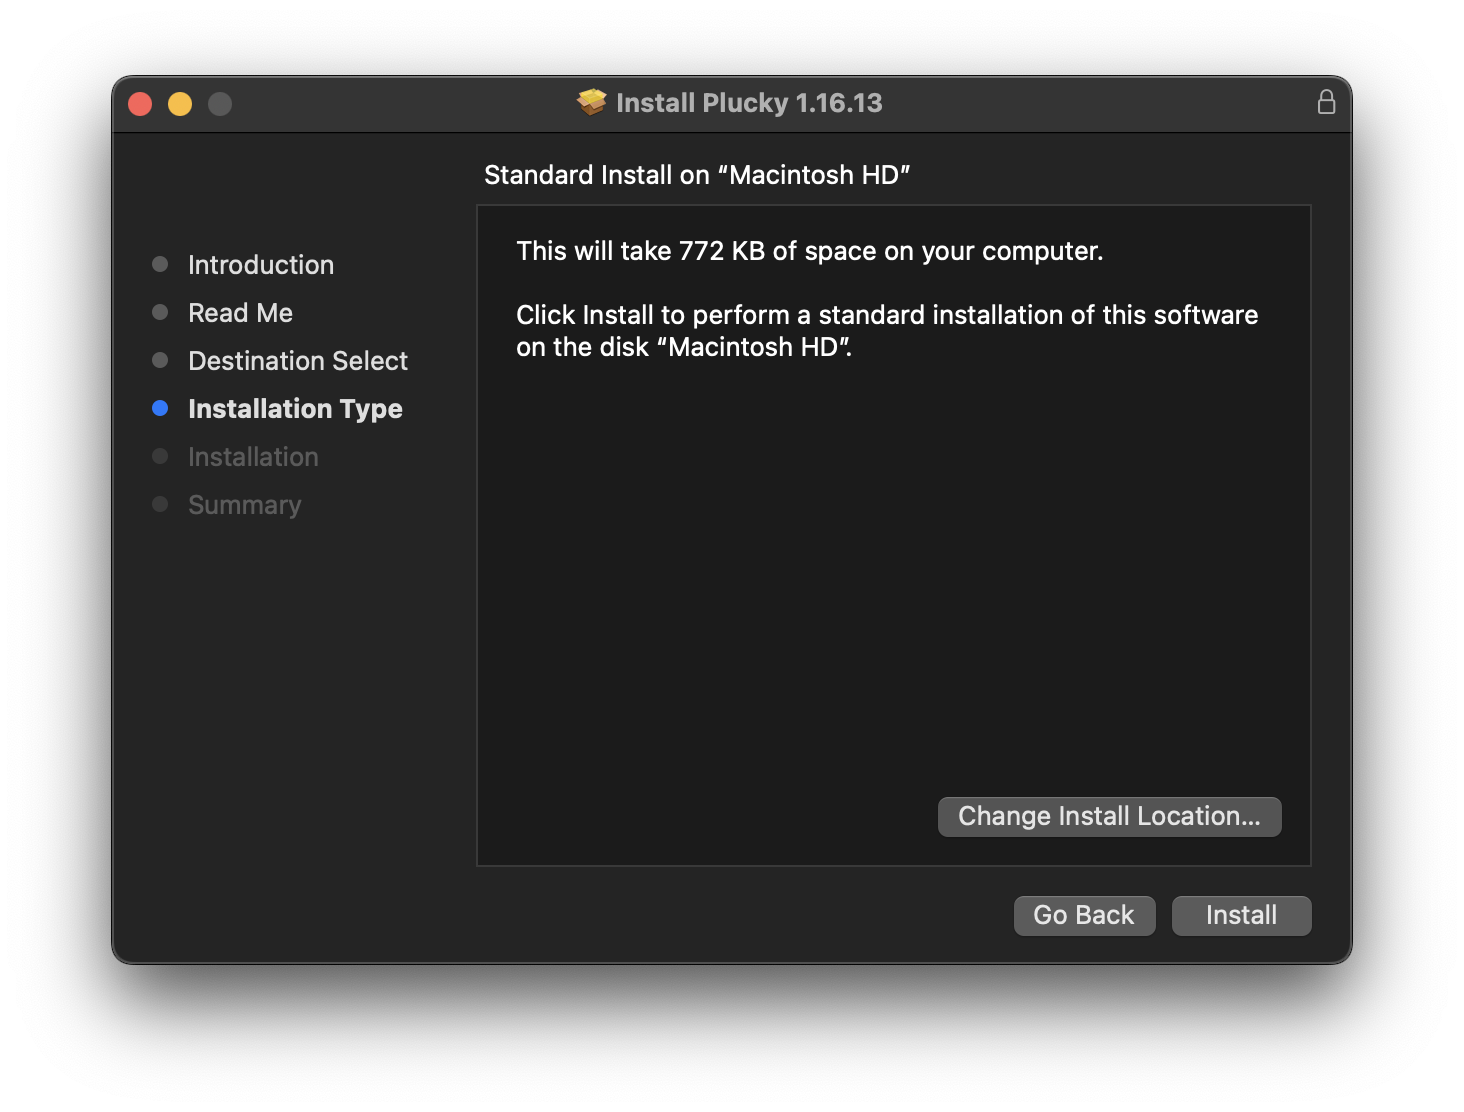
Click Install
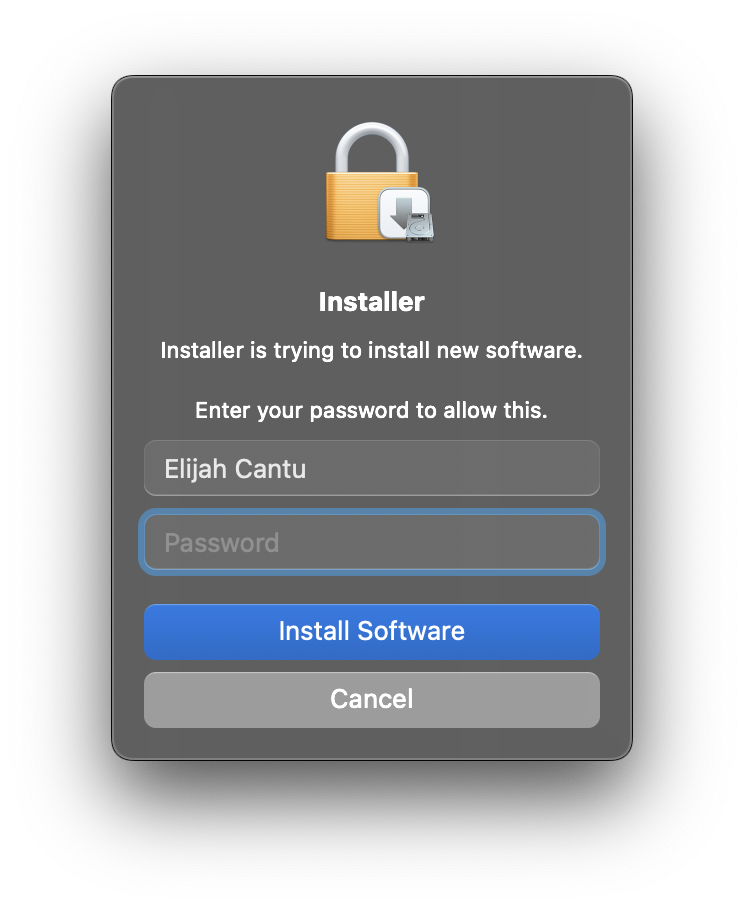
Enter an administrator password and click Install Software
Popups
Two popups will open.
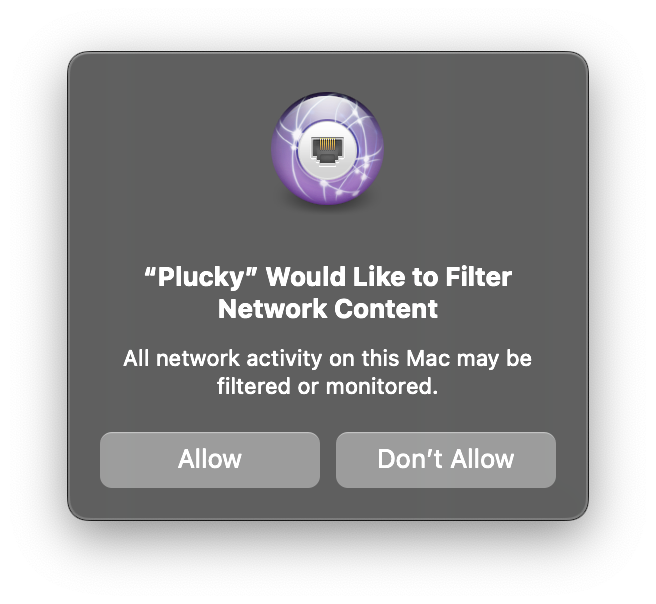
Click Allow on the Filter Network Content popup.
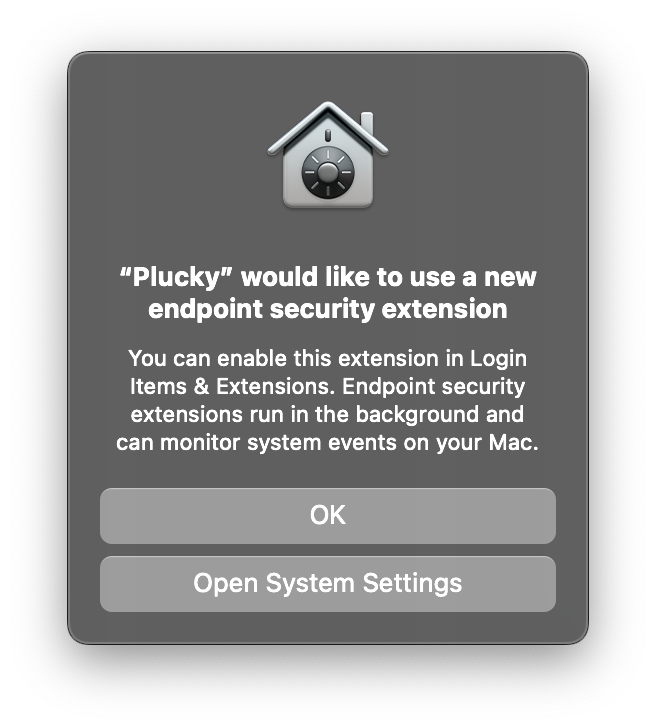
Click Open System Settings on the endpoint security extension popup.
Endpoint Security Extensions settings should open.
Otherwise, it in System Settings > General > Login Items & Extensions > Extensions.
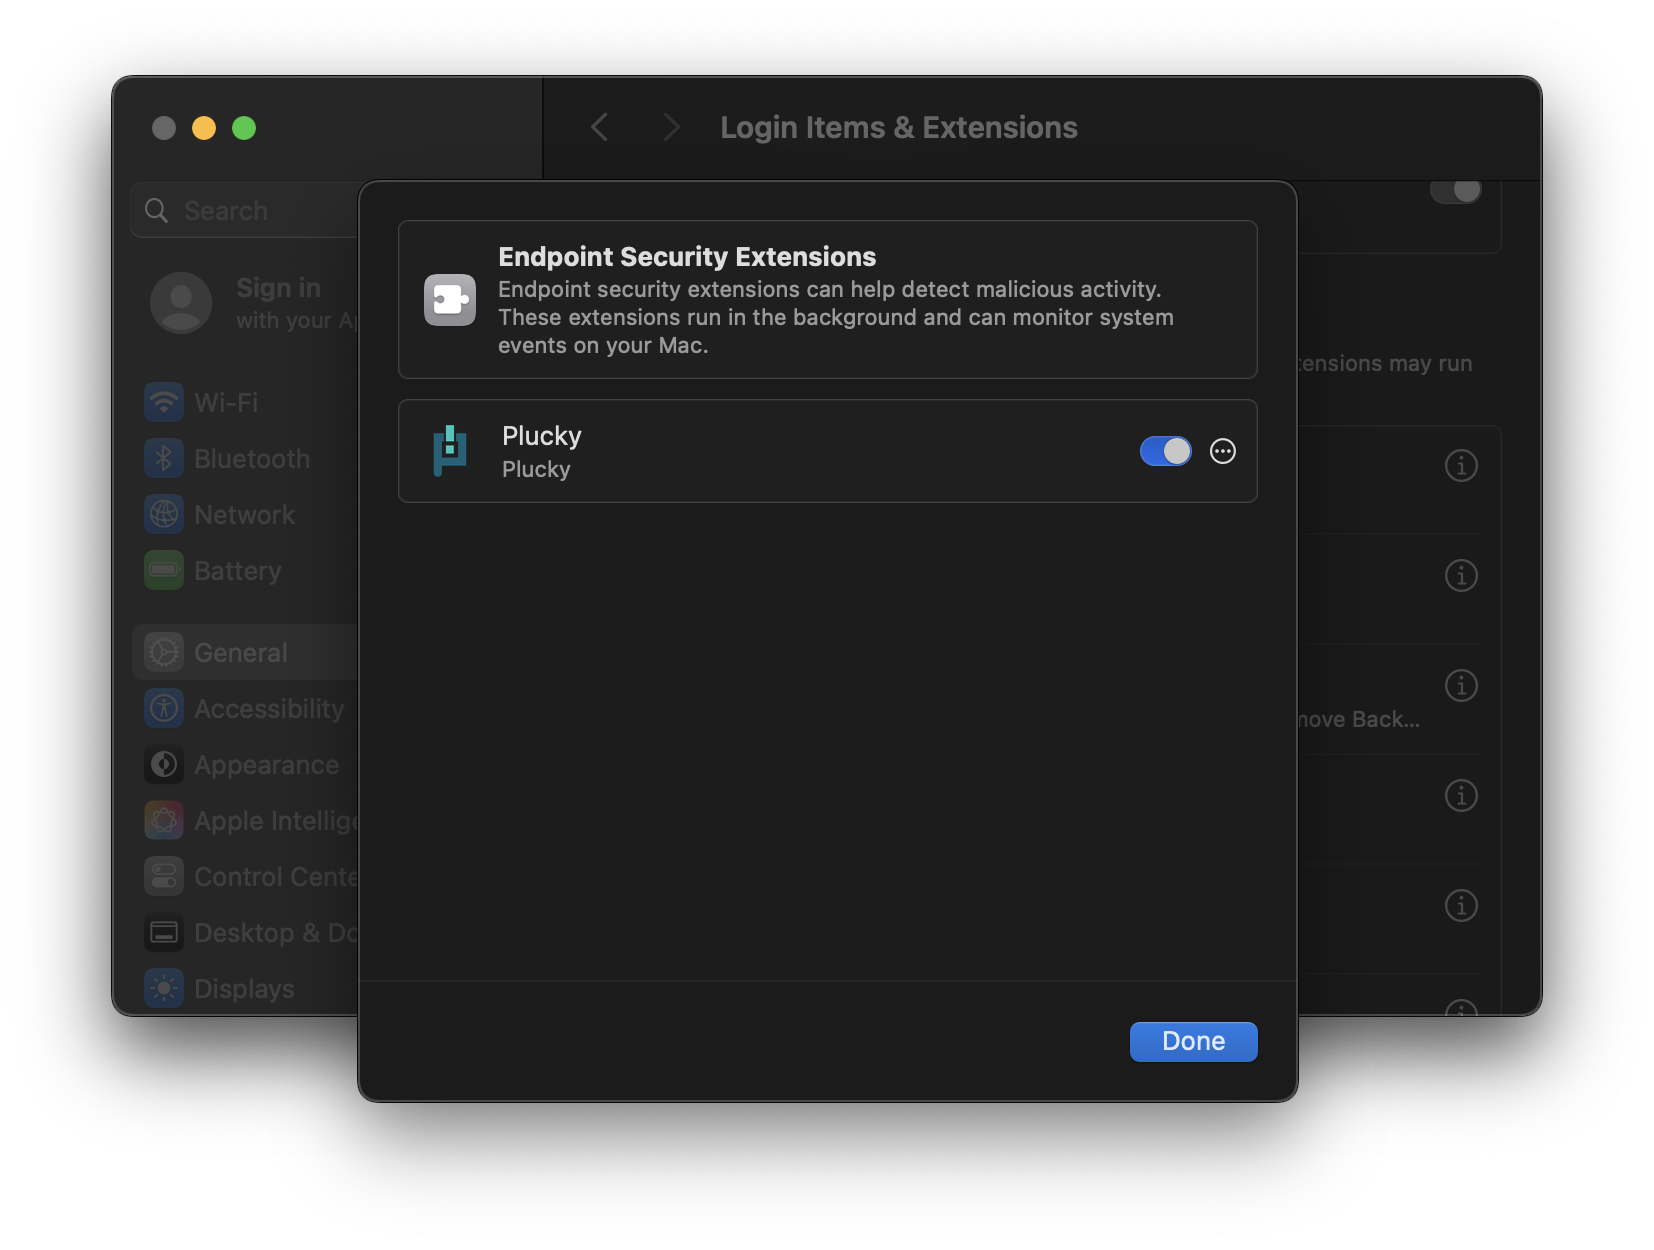
Enable Plucky.
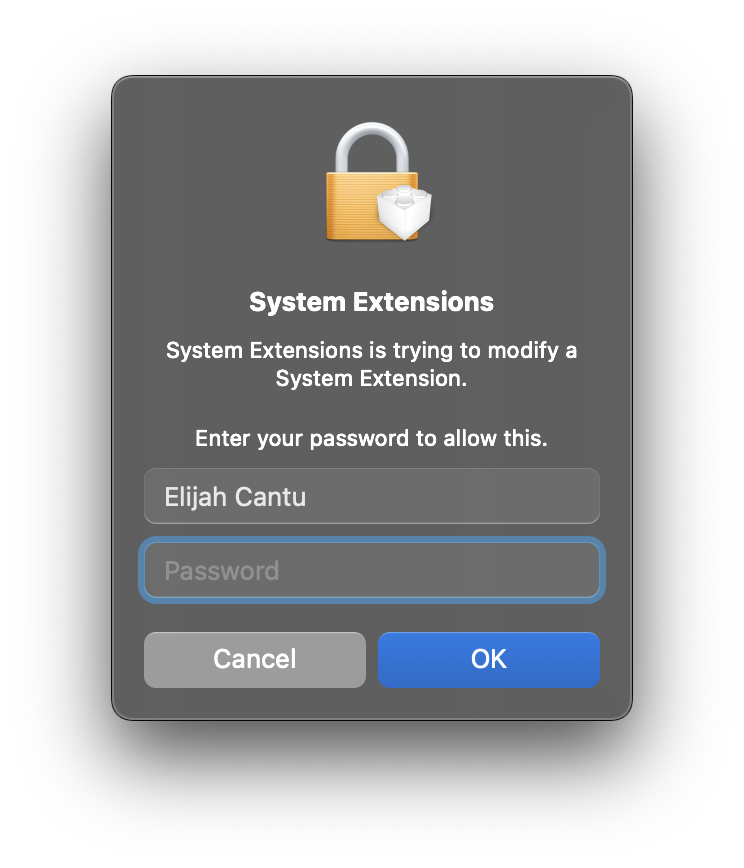
Enter your administrator password and click OK.
Notification
A Background Items Added notification should have appeared. Click on it.
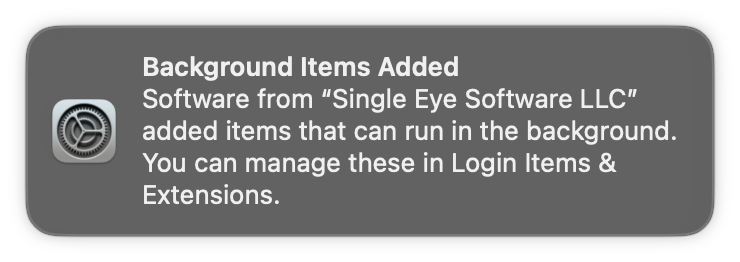
Allow in the Background settings should open.
Otherwise, it is in System Settings > General > Login Items & Extensions.
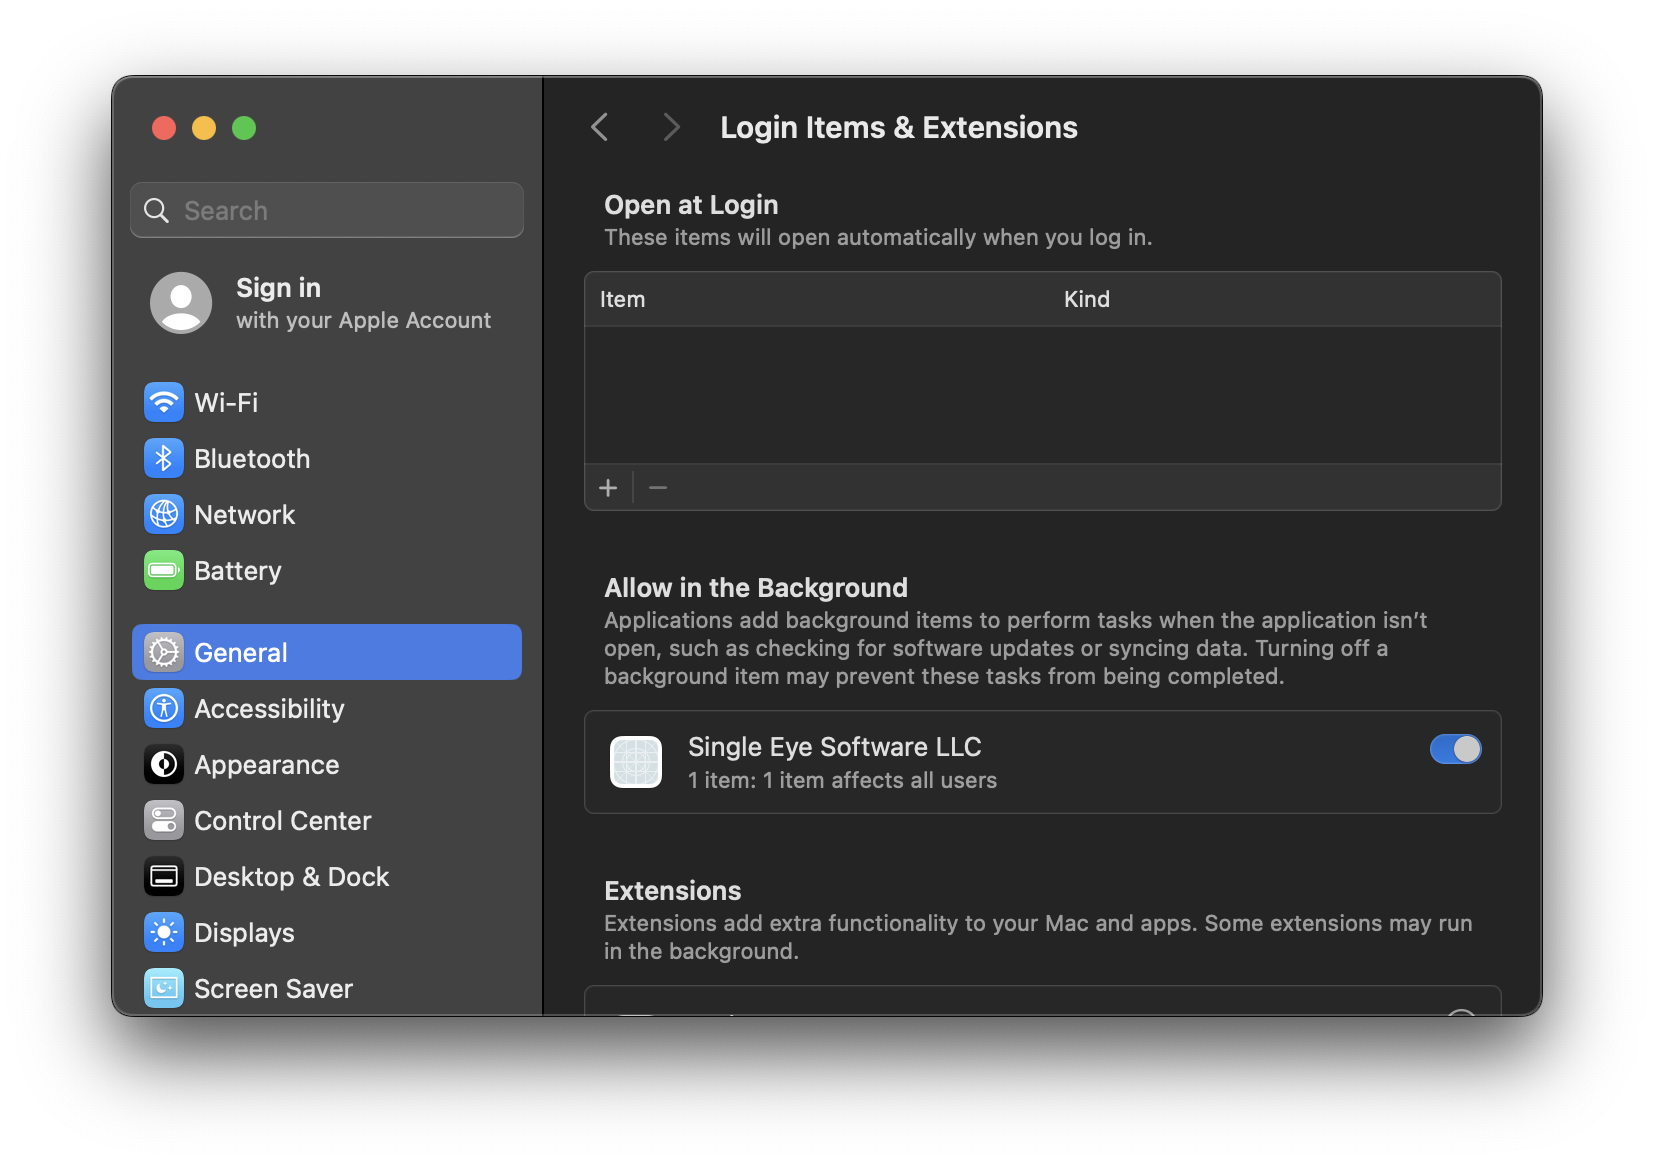
Make sure Single Eye Software LLC is enabled.
Full Disk Access
Open up full disk access settings in System Settings > Privacy & Security > Full Disk Access.
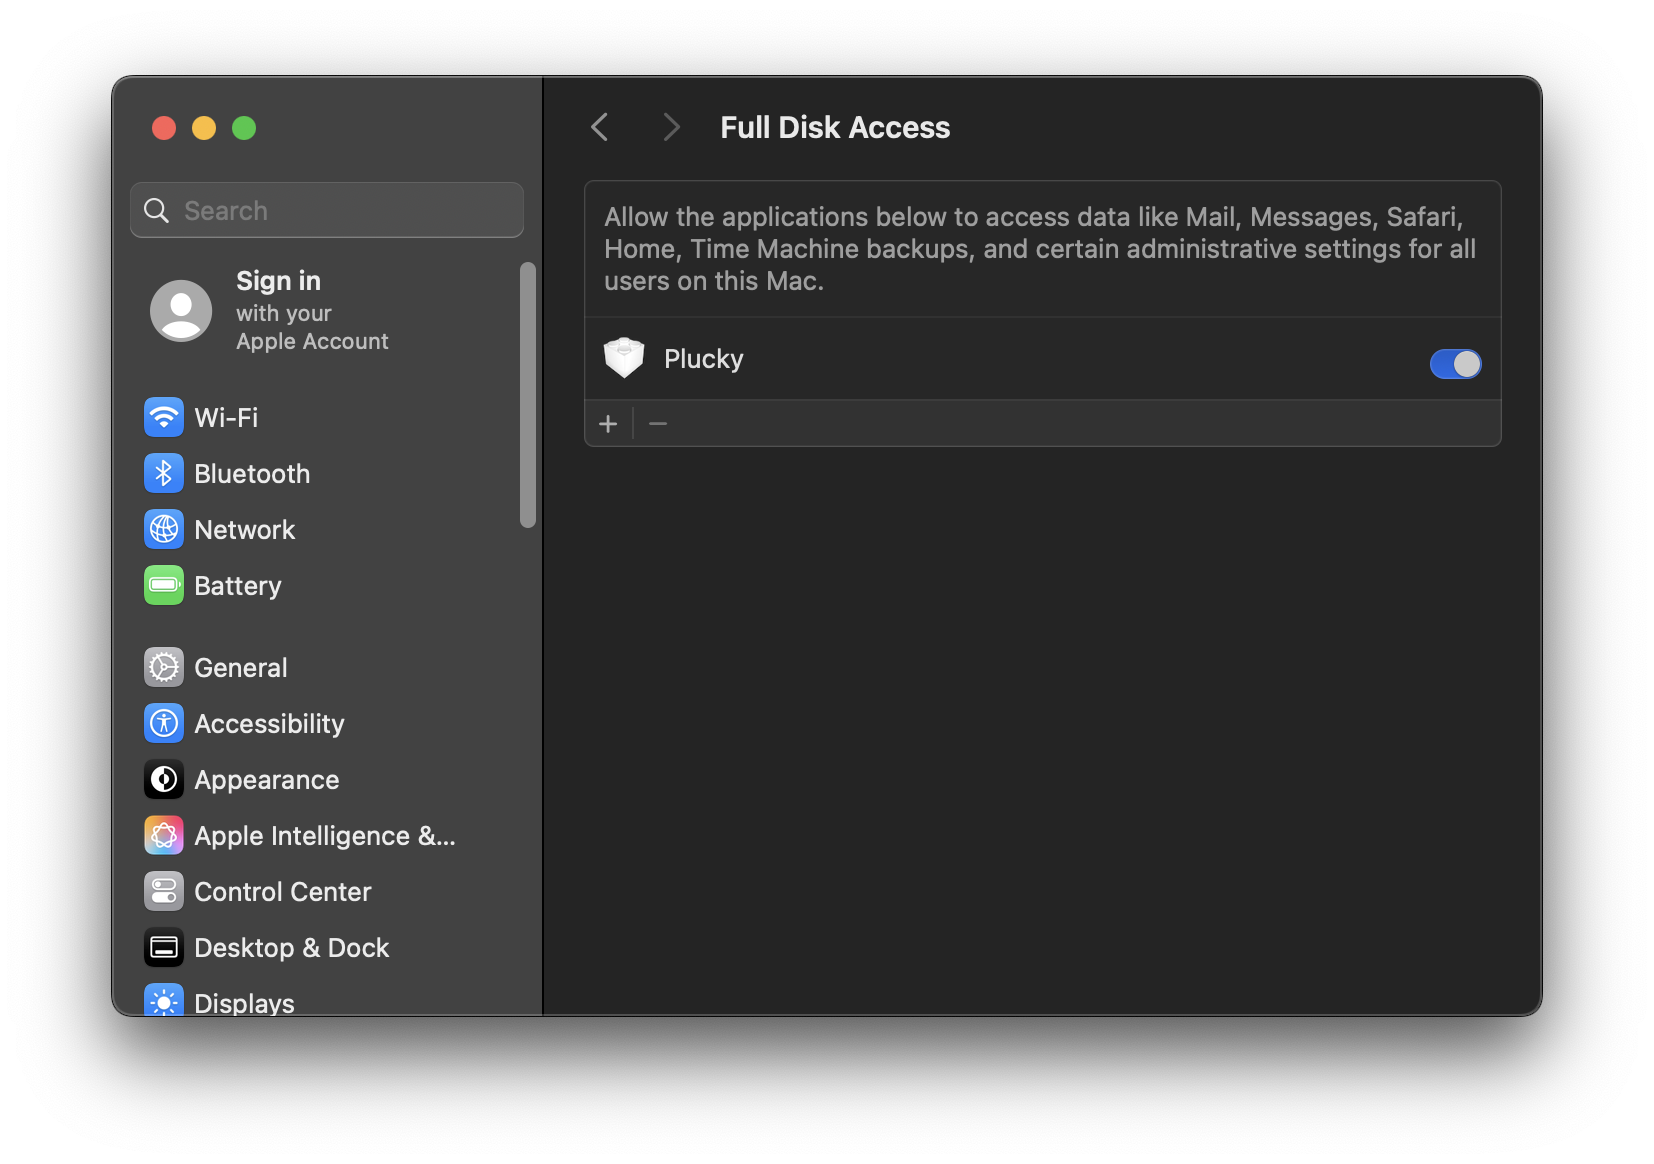
Enable Plucky.
Click on the + sign.
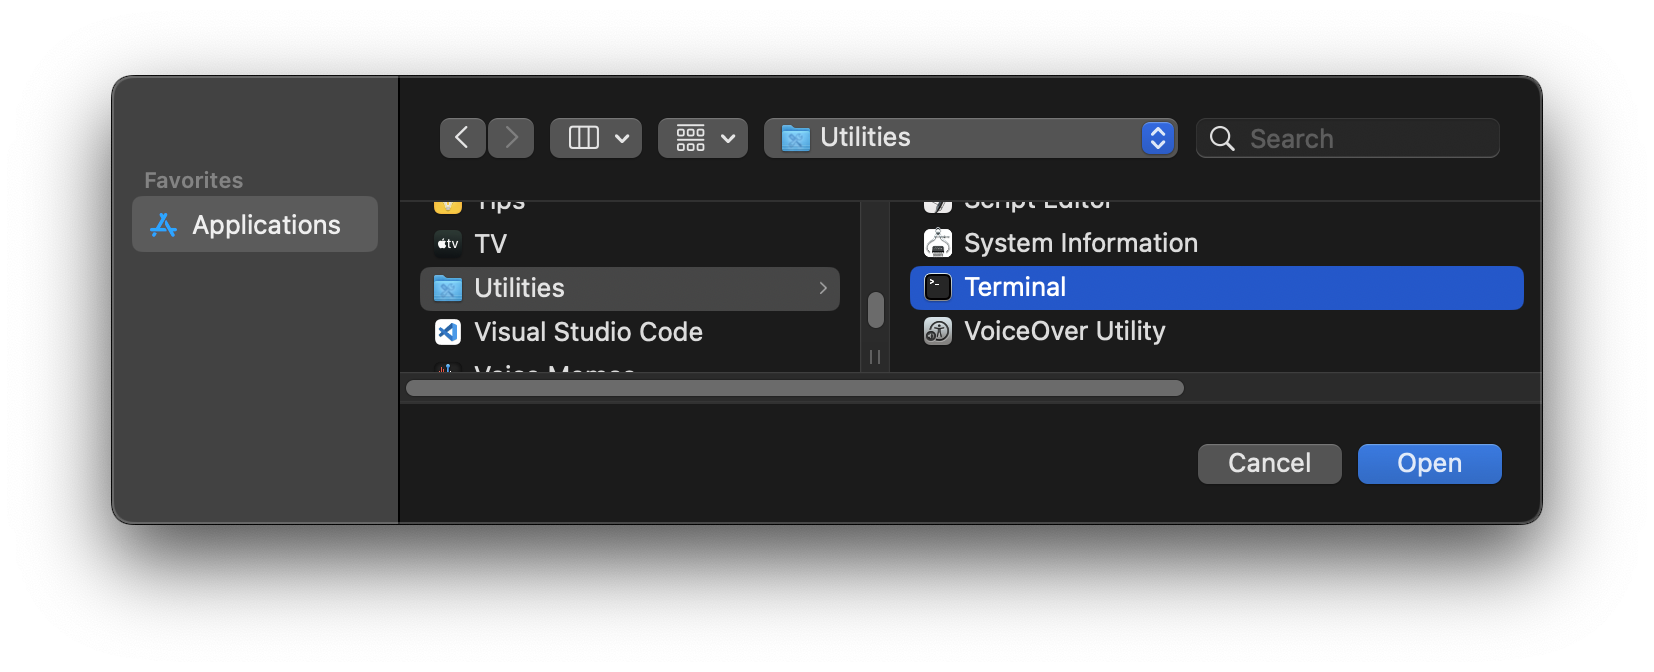
Under Applications > Utilities, click on Terminal and click Open.
Verification
Go back to your browser.
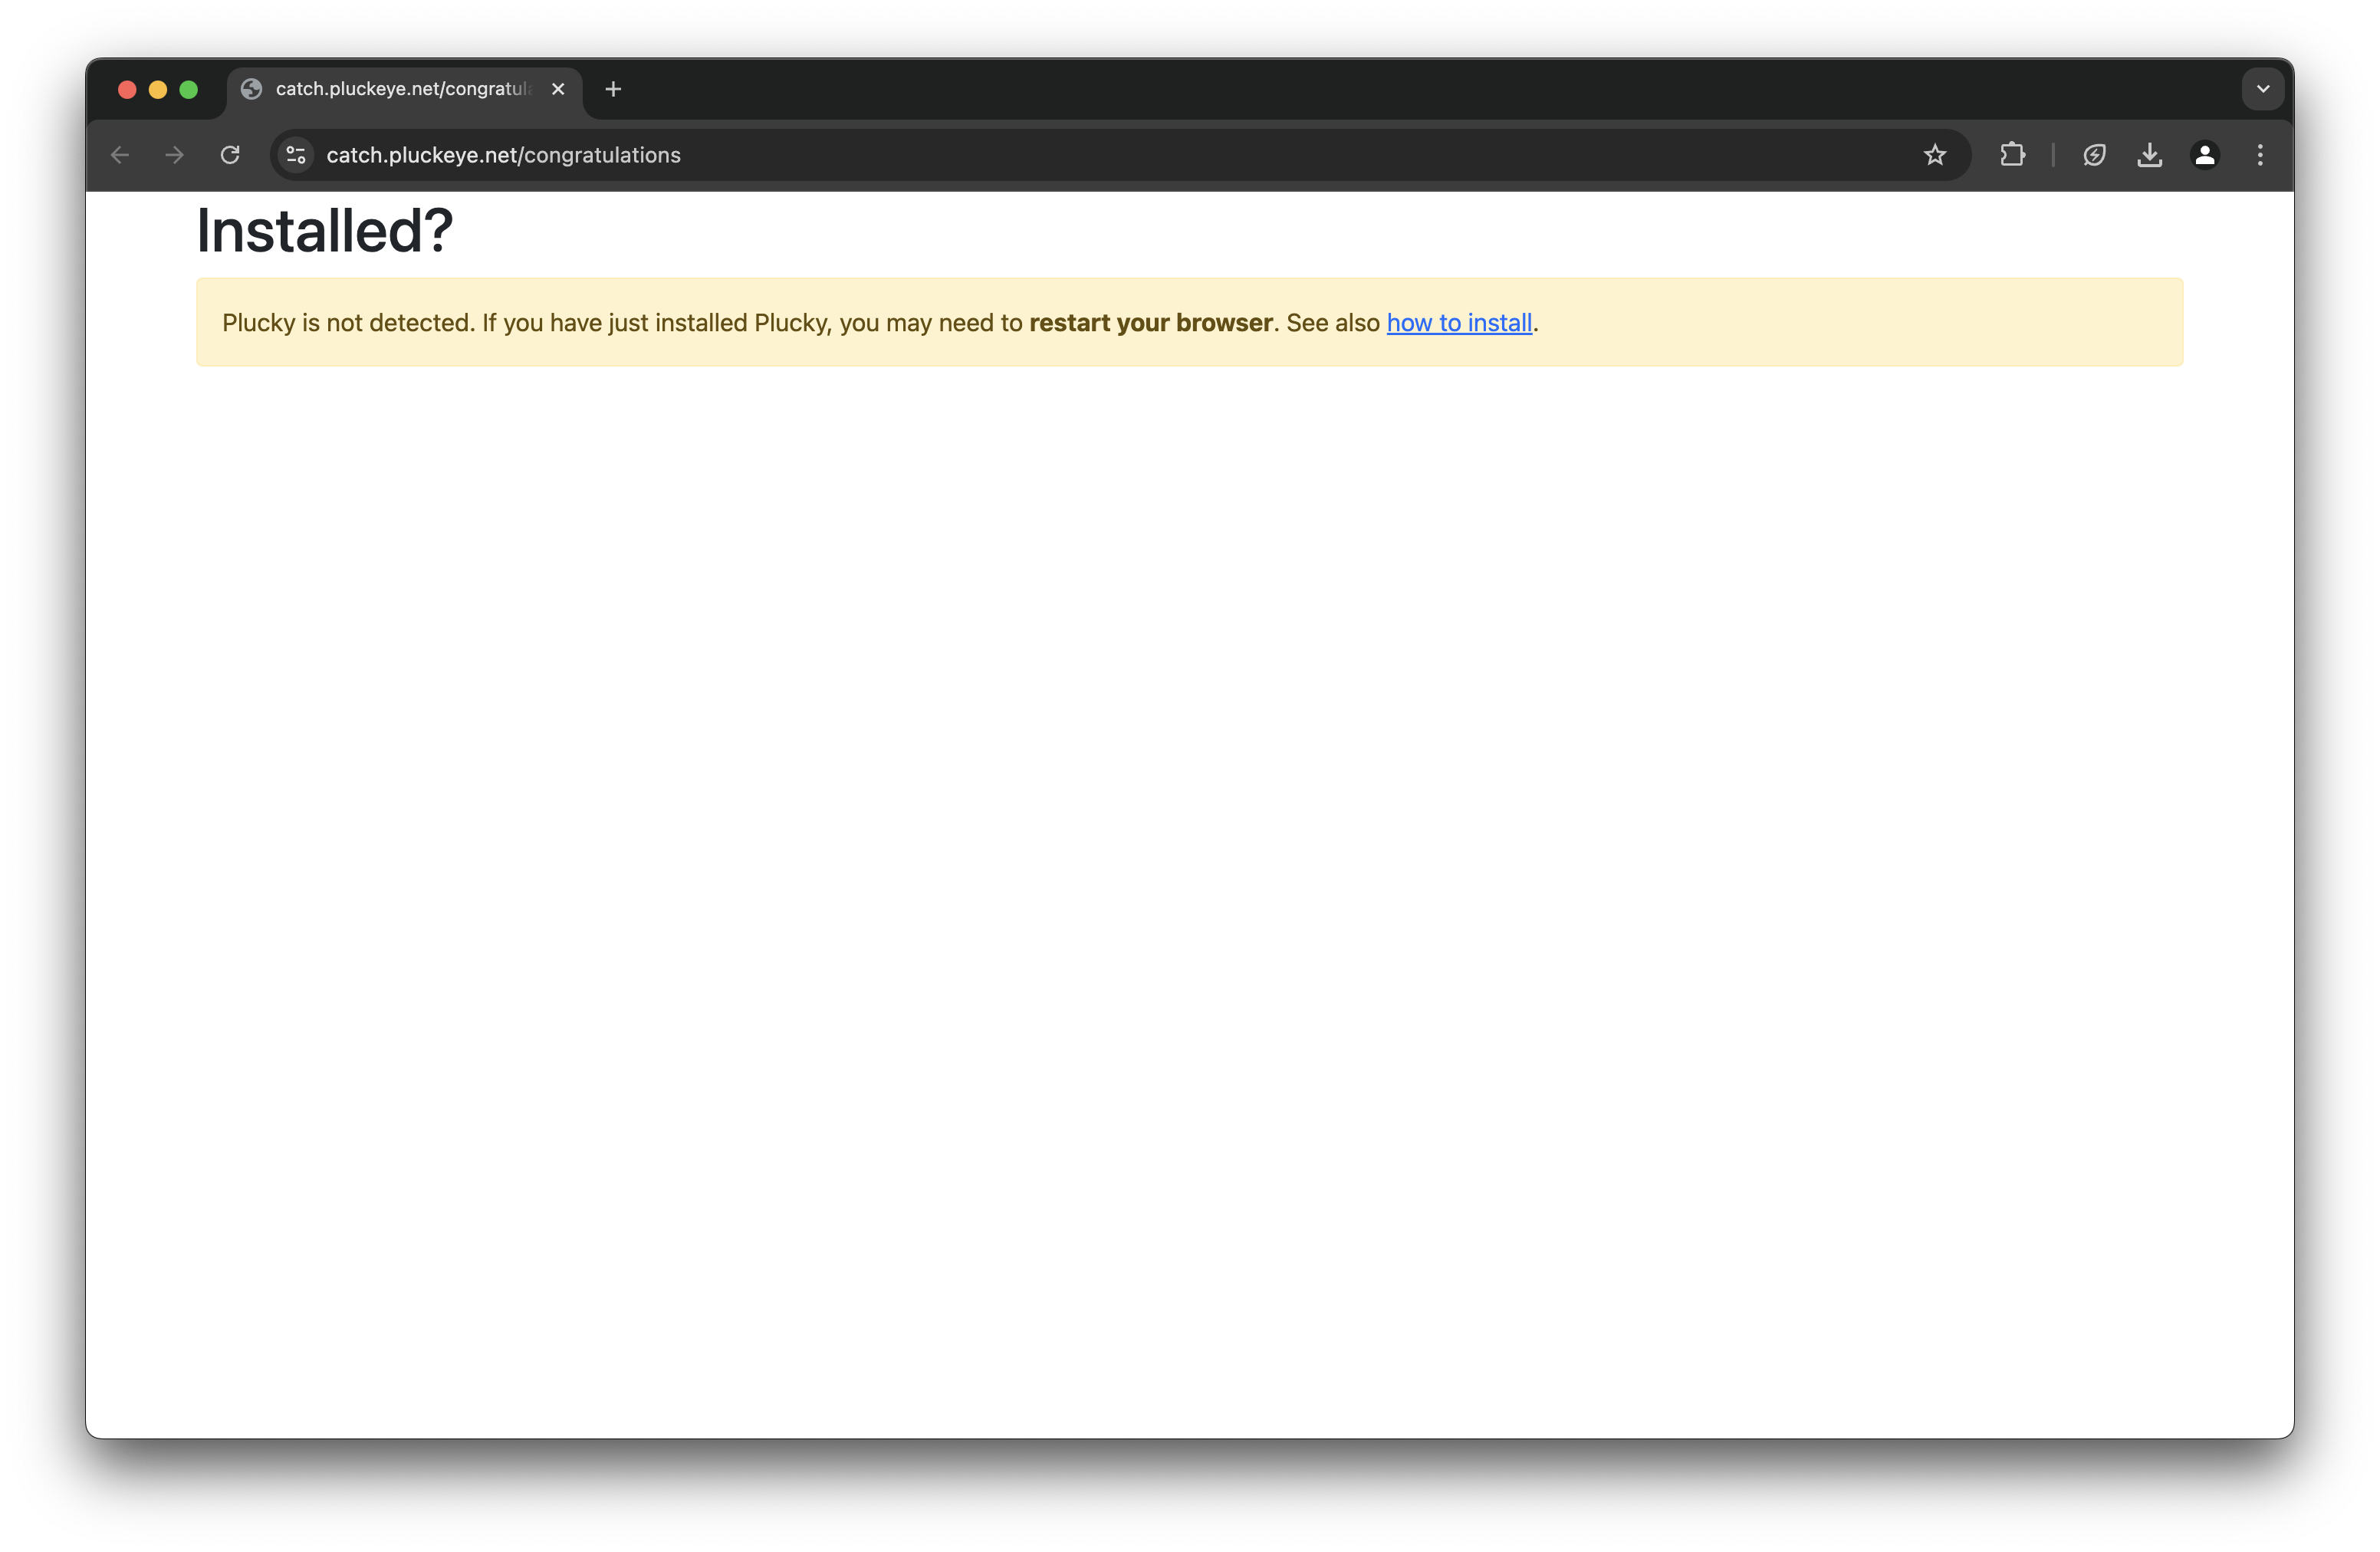
If you see this message on catch.pluckeye.net/congratulations, quit your browser and reopen it.
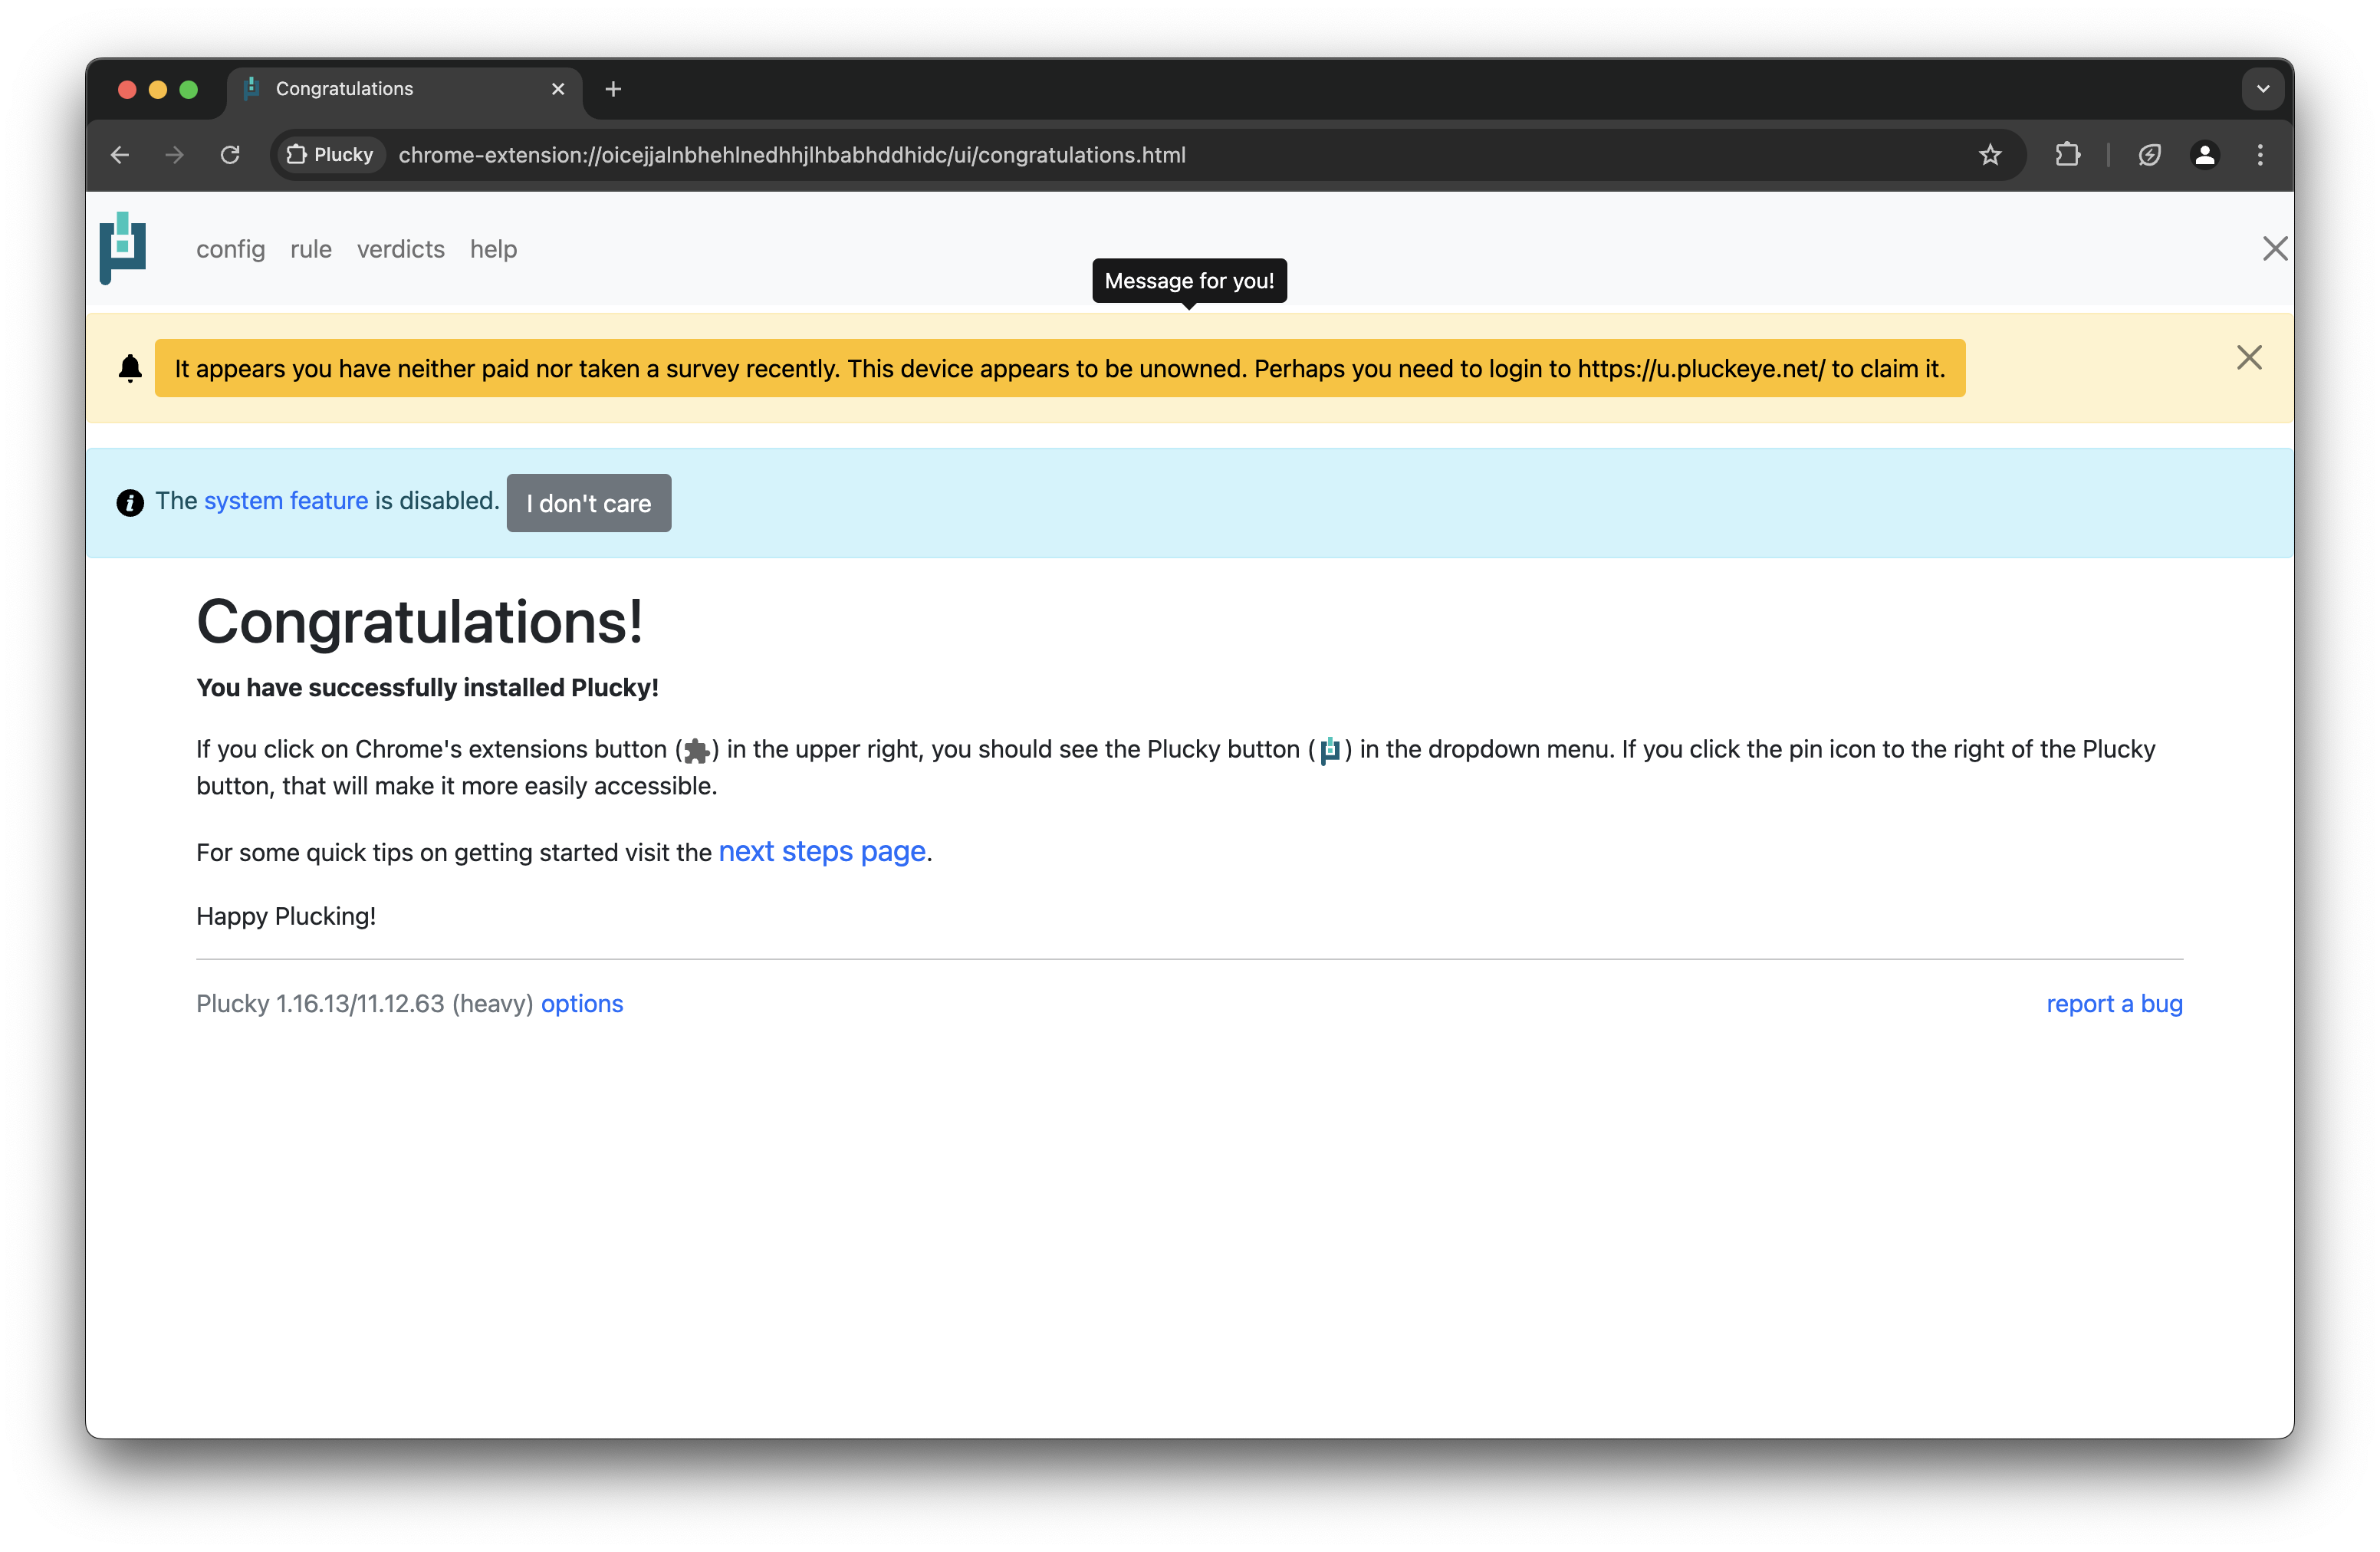
You should see the Congratulations message.
Next Steps
Until I make more tutorials, refer to the documentaiton for how to use Plucky.
Open Plucky Documentation.